
A nail drill is an indispensable tool for professional nail technicians. To get the most out of your nail drill and extend its lifespan, it's important to take good care of it. That's why we've compiled the most important do's and don'ts for you in this blog post!
The Do's: How to use your nail drill correctly.
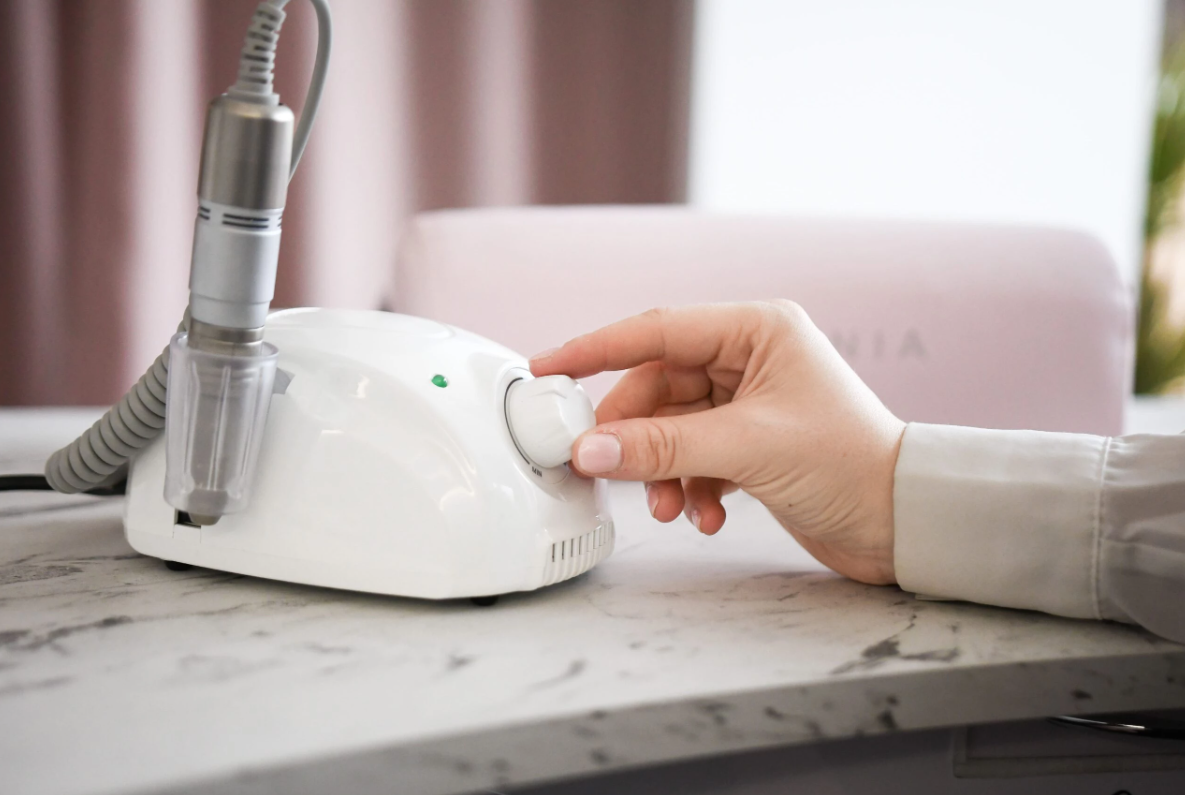
1. Always set the speed to zero before switching the appliance on or off.
It's very important to always set your nail drill's RPM to zero before turning it on or off . Turn the knob all the way to the left before pressing the on or off button. This prevents the motor from starting or stopping abruptly and at high speed, which can damage the motor. By starting gently at zero RPM, you give the motor a chance to start smoothly and stop safely.
This small but important step will extend the life of your nail drill and prevent costly repairs. In short: make this a habit part of your routine to keep your device working optimally and ensure you can drill safely.
2. Always use dust caps!
We know from experience that a nail drill lasts much longer when you use dust covers. These small but handy covers prevent dust and dirt from getting into the head of your nail drill. Dust can damage the motor and handpiece, causing your device to wear out faster or malfunction.
On our website, you'll find dust covers that fit virtually every nail drill on the market. Using them is very easy: simply slide the cover over the bit's leg and then press the bit into your nail drill. This keeps your device clean and allows you to work more safely and efficiently.

3. Check the settings before use.
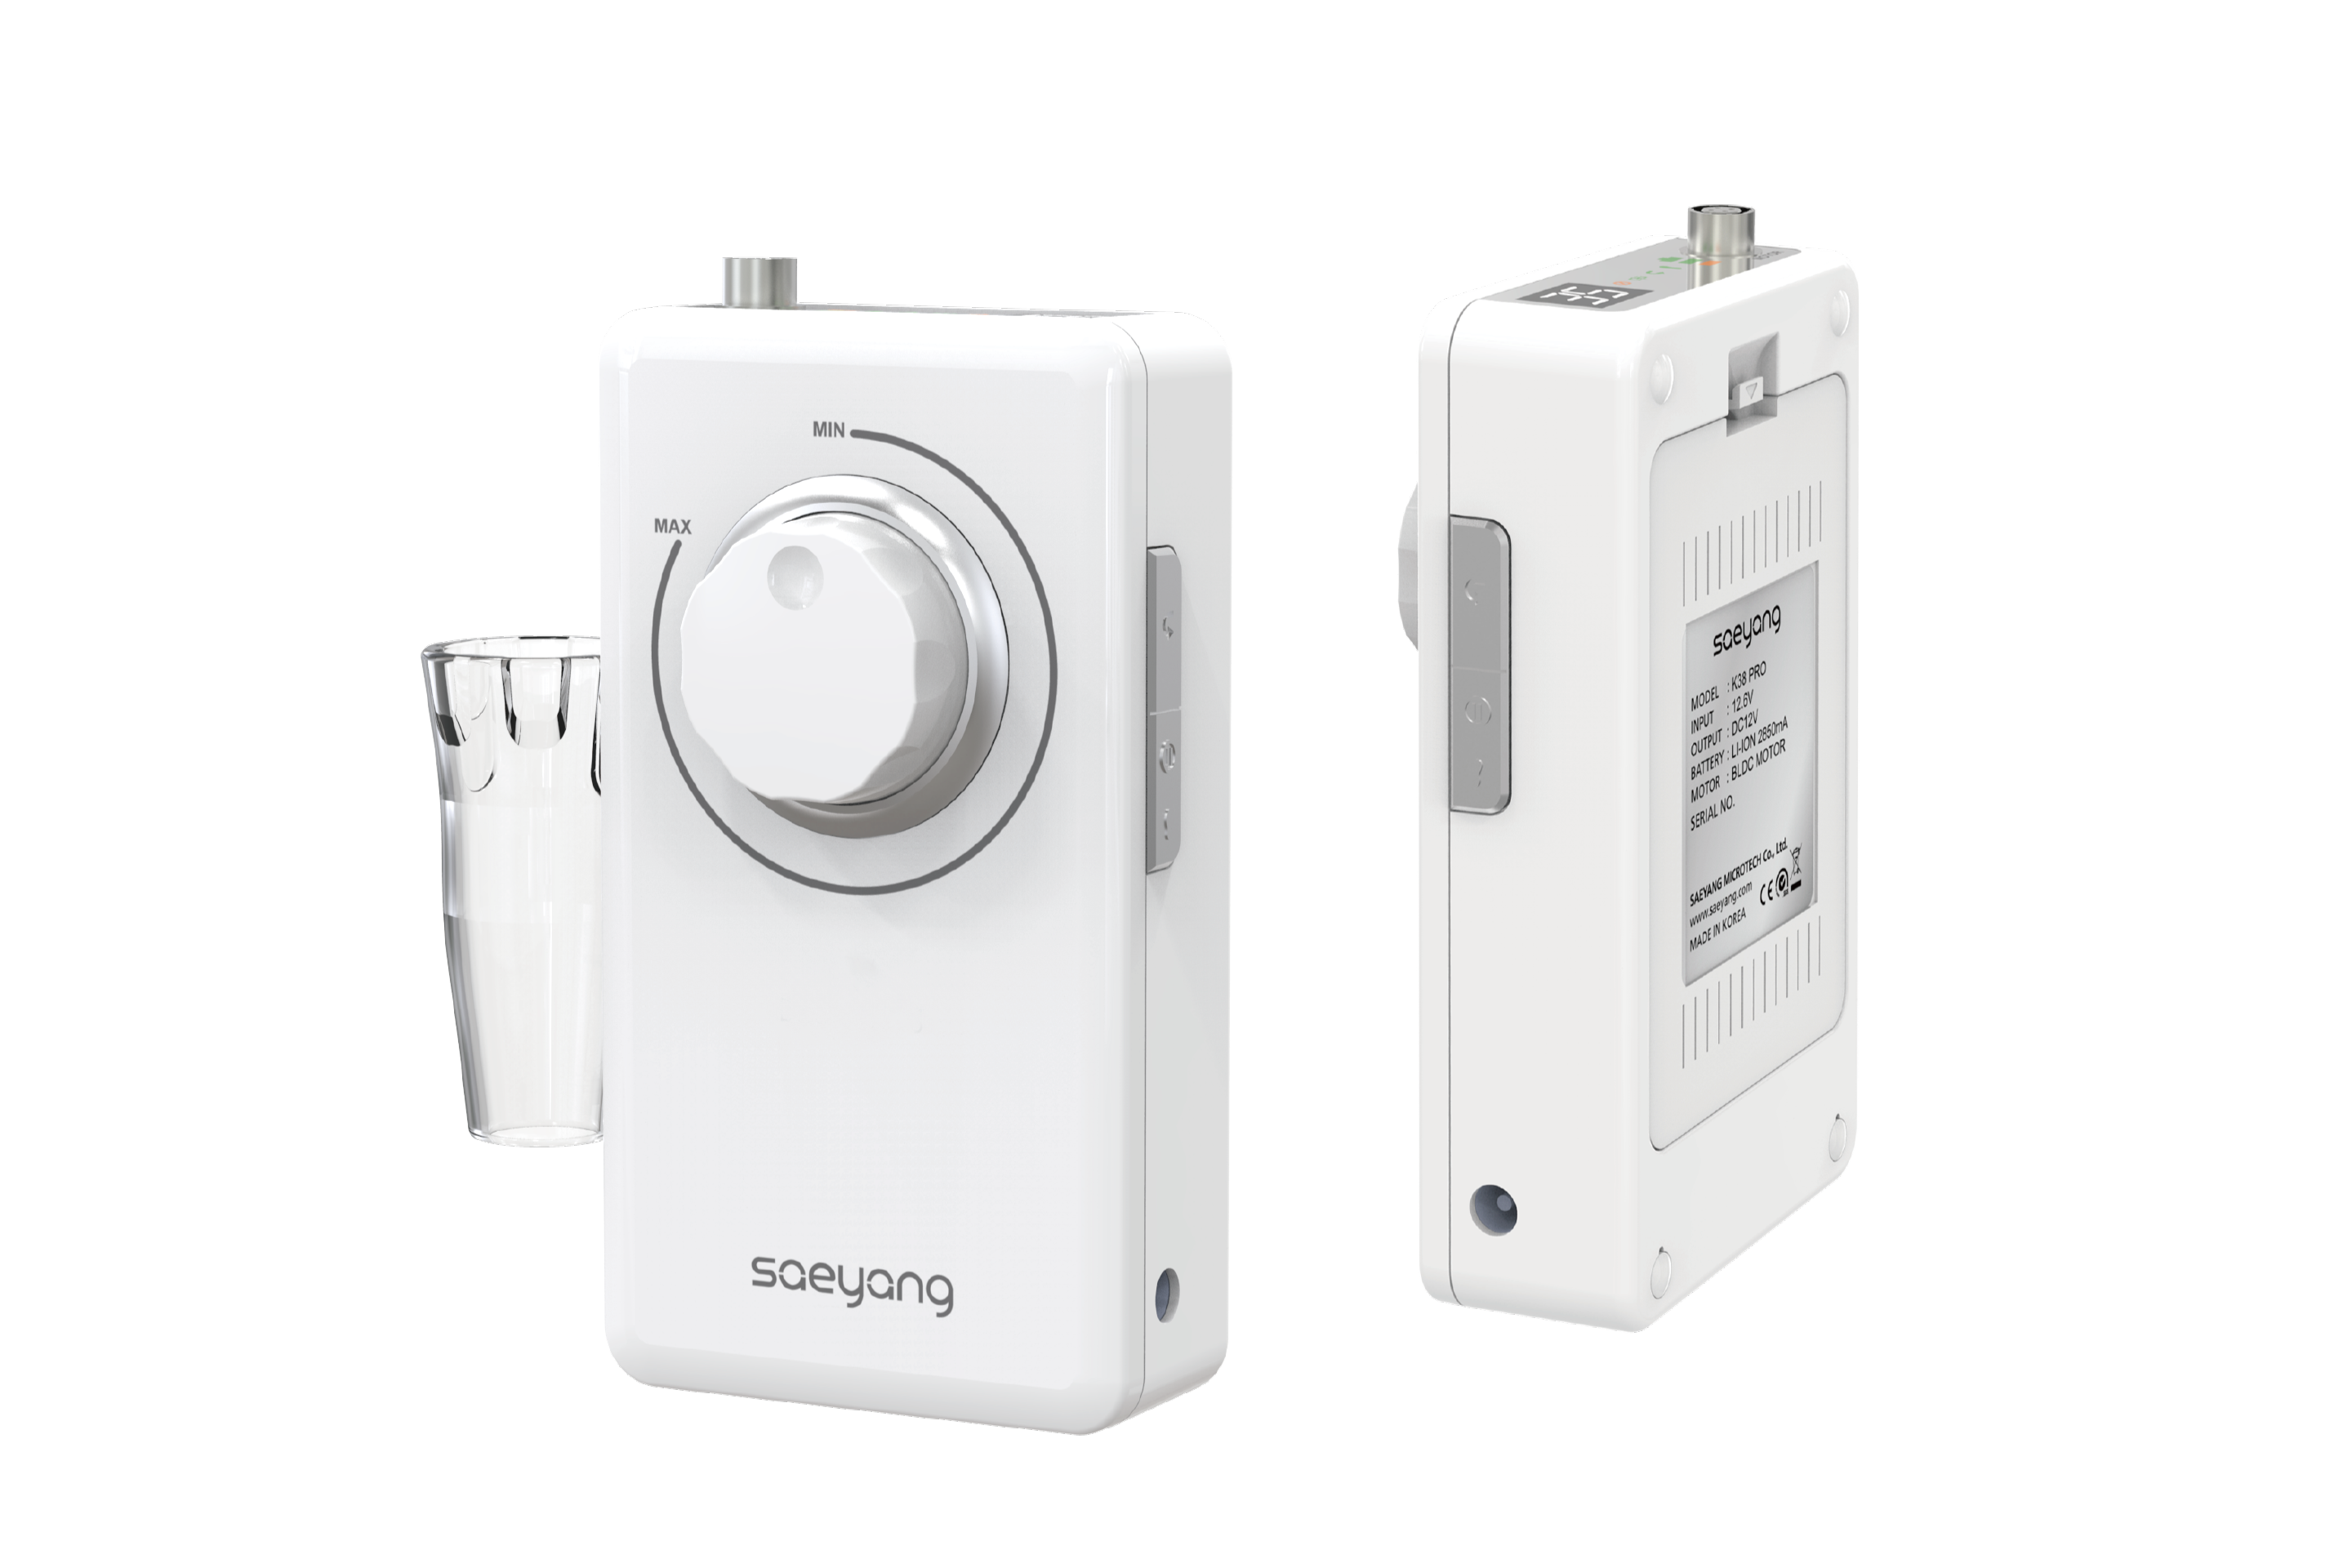
Before you turn on your nail drill, it's crucial to consider the settings. Most tools can be operated in two ways: manually (H) or via a foot pedal (F) . Make sure you set the tool to the correct setting based on your intended use. Manually, you use the dial to start the drill; with the foot pedal, you first set the speed and start or stop the drill by pressing or releasing the pedal.
It's surprisingly common for people to think their device is broken, when it's simply a button that's set incorrectly. Checking this can prevent frustration and unnecessary worry.
In addition, each nail drill also has a directional switch for left (L) or right (R) rotation. Depending on your hand position or the treatment you're performing, you should always check that the drill is rotating in the correct direction. Filing in the wrong direction prevents the bits from working properly, creates unnecessary friction, and can even damage the natural nail or the device itself.
4. Clean your nail drill and accessories regularly.
Good hygiene starts with a clean workspace, and that certainly applies to your nail drill. Therefore, clean your device and accessories regularly with a soft cloth and suitable cleaning products . Carefully remove dust and dirt and ensure everything is completely dry before storing.
To clean the device itself, use a clean, dry or slightly damp cloth . Do not use acetone or harsh cleaning agents , as these can damage the casing or electronics. A mild alcohol-based cleaner is suitable, as long as you don't get the device too wet.
For mouthguards, we recommend using special mouthguard cleaners or disinfectant sprays suitable for metal. You can also clean them in an ultrasonic cleaner or, if permitted, sterilize them in a sterilizer . Mouthguards showing signs of wear should be replaced promptly for maximum safety and efficiency.
Why is all this so important? A clean nail drill works better, lasts longer, and ensures a hygienic work environment. Both you and your customer feel more comfortable and safe with clean, professional equipment. Moreover, you comply with the applicable hygiene regulations in the sector.
The Don'ts: What to Absolutely Avoid.
1. Never bring your nail drill into contact with moisture!
Water and electronic devices? Not a good combination! So always keep your nail drill dry , as moisture can cause malfunctions, rust formation, damage to the handpiece, and in the worst case, even a short circuit .
Moisture can penetrate the motor or electronics, which is disastrous for your device. And believe us: once moisture gets inside, things you really don't want happen, a bit like in the movie H2O. One drop and... poof!
Also important: never put damp mouthpieces in your device . Dry them thoroughly after cleaning or disinfecting. Even a small amount of residual moisture can damage the internals of your handpiece.
2. Do not use too much pressure while milling.
A common mistake when working with a nail drill is applying too much pressure. This might seem like a more powerful or faster drill, but in reality, you're not doing your tool or your nail any favors. Too much pressure puts unnecessary strain on the motor , can damage the handpiece , and causes your bit to overheat .
In addition, you also lose control of your movements , which increases the risk of damaging the nail plate or touching the skin. A properly adjusted speed combined with a gentle, controlled hand movement delivers the best and safest results.
How many revolutions should you use?
- Cuticles and natural nail : 5,000 – 8,000 rpm
- Removing gel or acrylic: 20,000 – 30,000 rpm
- Updating the artificial nail shape or length: 15,000 – 25,000 rpm
Note: These are guidelines only. Every tool and bit works differently, so listen to the sound and feel of the cutter. If you find yourself having to push to get a result, your RPM may be too low or you're using the wrong bit . In short: let the machine do the work, not your muscle power.
3. Never change a bit while the cutter is still running.
Always make sure your nail drill is completely switched off and the speed is set to zero before changing a bit.
Are you using a device with a twist lock system ? Never open it while the device is still on . The mechanism is not designed to be opened while powered or twisted, and this can cause serious damage to the handpiece.
Changing a bit while the device is still on can damage the handpiece, cause the bit to loosen or jam, and even cause injury. Furthermore, improper use will void your warranty.
Here's how to exchange safely:
- Set the RPM completely to zero.
- Switch the device off completely.
- Wait until the bit has come to a complete stop
- Only then open the twist lock system

4. Do not tinker with your device yourself!
We get it: if your nail drill suddenly stops working, it's tempting to take a look yourself to see what's wrong. But be careful! It's not a good idea to open or take apart your device yourself.
Why not? Once you start tinkering yourself, it's often impossible for the supplier or manufacturer to see what the original problem was . And what's more, your warranty is immediately voided because it's then officially considered a user error .
So what do you do? Always contact us first Contact the store or manufacturer where you purchased the appliance. Often, the problem is easier to solve than you think and risk-free. In short: your nail drill isn't an IKEA cabinet. Leave it as is and entrust it to the right service department. This way, your warranty remains valid and you'll have a perfectly working appliance back in your hands faster!
Leave a comment
This site is protected by hCaptcha and the hCaptcha Privacy Policy and Terms of Service apply.